


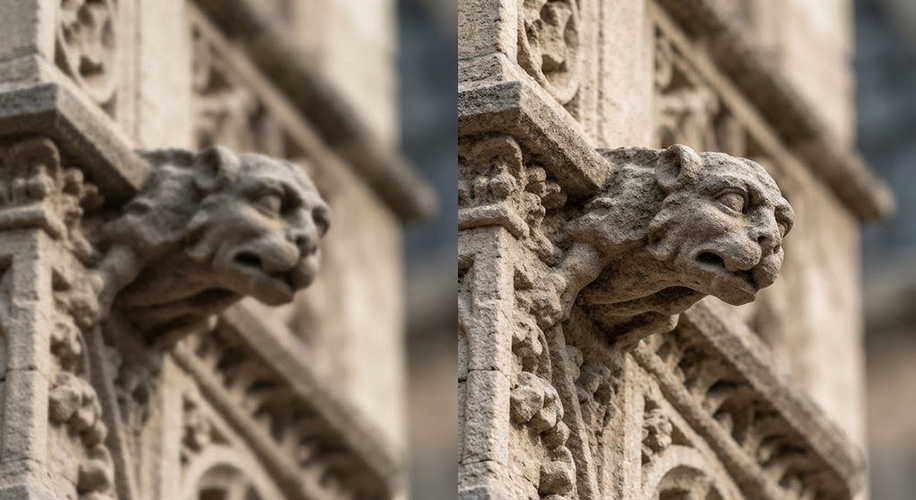
Ever opened a phone photo on a computer and wondered why it suddenly looked blurry?
On a phone, the image may look clean and detailed because the screen is small. Open that same file on a larger display, and soft edges, noise, and missing detail can become obvious within seconds.
It is a super common thing, and it does not mean your phone has a bad camera. It’s just how phone photography works vs how bigger displays show the image.
Here are the main reasons why a photo that looks sharp on your phone might look a bit soft at full size, and what you can actually do about it to get back quality.
1. Your phone screen is hiding the flaws
Reason number one is pure physics. Today’s phone displays are small but incredibly pixel-dense. 460 pixels per inch is common now.
So, when you put a 12MP image on a 6-inch phone screen display, everything gets compressed. Any minor softness, noise, or smear becomes invisible. The display is just too small to show the flaws. Plus, you usually look at your phone holding it 25- 30 cm away while scrolling, which makes it even harder to spot them.
Open that same file on a 15″ laptop, or 10 inches wide on paper, and you are stretching those pixels. What was invisible at phone size is now front and center. Pixels aren’t packed anymore. They have to fill more space. So what looked sharp on your phone can look kinda soft on a laptop.
2. Your phone is cleaning the photo a little too hard
Smartphone sensors are tiny.
A full-frame camera sensor is about 30 times bigger than a phone sensor. Less light comes in, so there is more noise, especially indoors or at sunset.
To hide that noise, your phone runs heavy noise reduction. Every single photo you take, even in daylight, goes through it. The algorithm looks for grain and smooths it out. And then to compensate for that softness, the phone adds sharpening.
The sharpening is not real detail. It’s an edge contrast. It draws a bright line around edges to trick your eye into thinking it’s sharp. On a small screen, the trick works. On a bigger screen, you see the halo and the missing texture underneath.
3. Compression makes it worse
When you shoot on iPhone or Android on default settings, the file is saved as a HEIF or JPEG. To keep file size small, a lot of data is thrown away.
That compression targets exactly the details you want to keep later. In flat areas like sky it is fine. In busy areas like fur, trees, or text, it creates blocky artifacts and mush. Open a photo of a building with trees behind it and zoom into the leaves — if they look like green smear instead of individual leaves, that’s compression, not bad focus.
Now take that photo and screenshot it. Or send it through WhatsApp. Or save it two, three times in different apps. What happens? It gets compressed again. And again. Every time you save, the quality of the image drops a bit. Each save degrades it a bit more.
4. Digital zoom is just a crop
Unless you have a true 5x periscope telephoto and you are exactly at that focal length, almost all phone zoom is digital. If you pinch to 3x or 7x or 10x, you’re not actually zooming. The phone is just taking the center part of the sensor, cropping it, and then upscaling it with software.
You are not getting closer. You are getting fewer pixels stretched to look like a full photo.
So you start with fewer real pixels, then noise reduction smooths them, then compression smashes them, then sharpening fakes them. No wonder it looks soft on a large display.
How to make phone photos hold up on a big screen
You do not need to stop using your phone. Just shoot and finish with the big screen in mind.
If you know the shot matters, give the sensor more light. Step near a window, turn on a lamp. Light is the single best way to reduce noise reduction. Tap to lock focus on texture, not just on a face. And avoid digital zoom at all costs. A 2x or 3x optical lens will always keep more real detail than a 10x digital crop.
For photos you already have, the fix is not to just drag the sharpness slider to 100 in an editor. That will only make the halos worse.
You need to reconstruct the texture that was smoothed away and then add clean resolution. For this purpose, a photo enhancer can help recover some of the clarity that gets lost during phone processing. Wink’s photo enhancer does exactly that. It brings back clarity that gets lost during phone processing. It helps you rebuild soft texture and weak edges, so the image has a much stronger starting point before it’s shown on a larger screen.
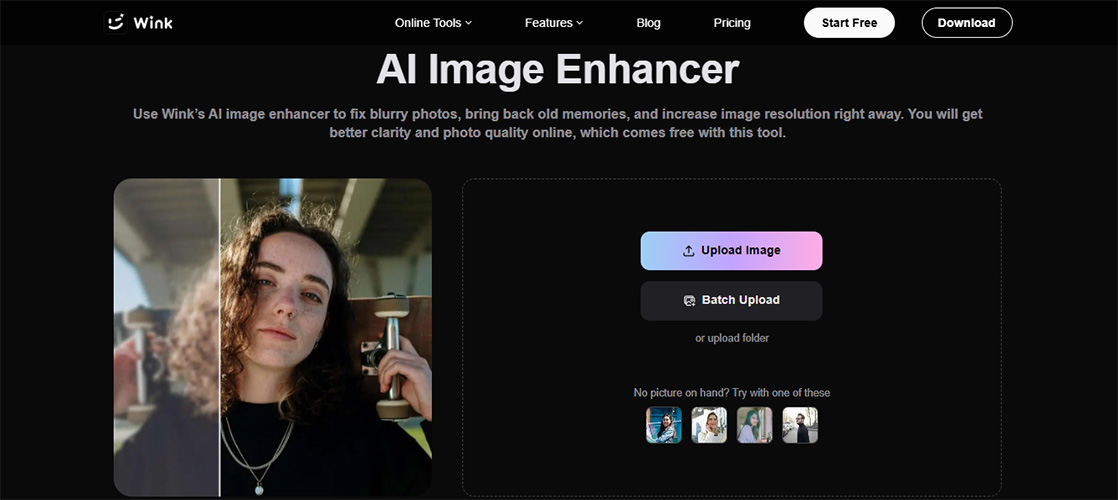
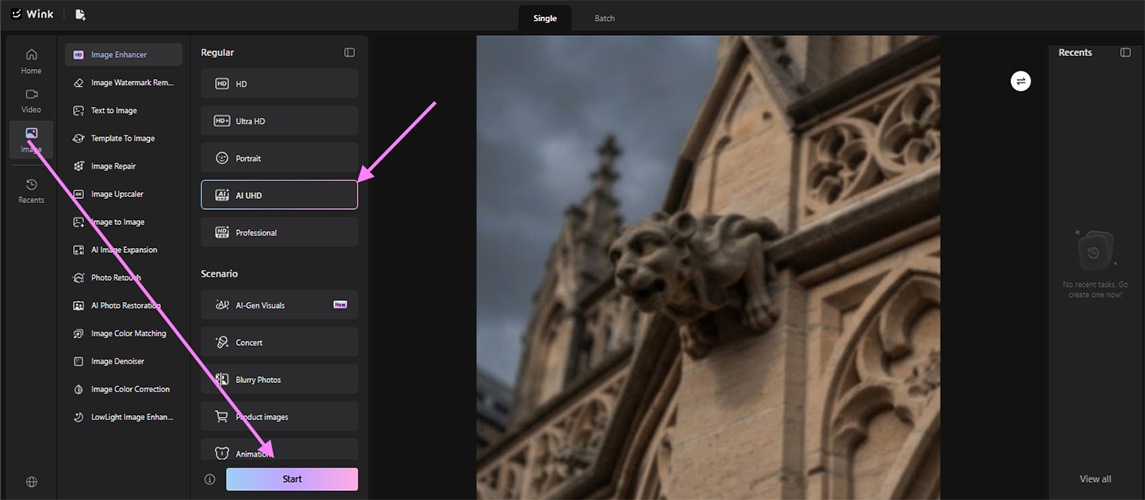
Wink Photo Enhancer is easy to use, even if you have never edited a photo before. The process is built for people who have never opened an editing tool before. Just upload the original phone file to Wink video editor and pick the enhancement level. HD for a natural cleanup. UHD when there’s a lot of fine texture, like hair, leaves, or brick. Then hit Start.
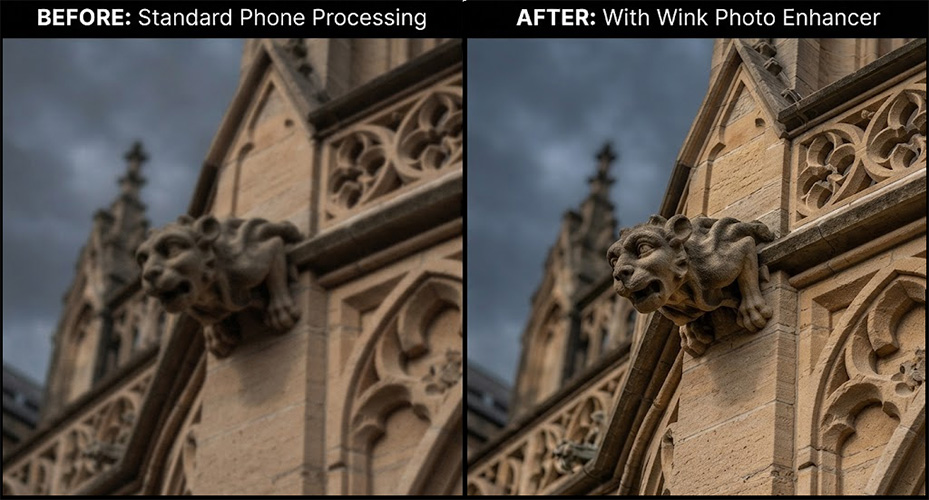
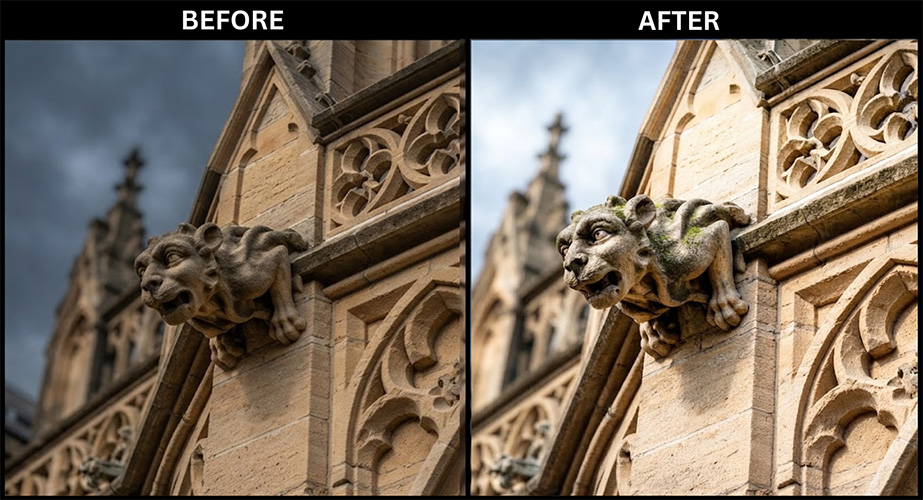
You can see it right away in the before/after. In the following example, the left side is the standard phone processing version, stone edges and fine carvings look smeared by noise reduction.
After running it through Wink photo enhancer, the same areas regain micro-contrast, and the surface looks like actual stone again, not a smoothed approximation.
Once the texture is back, the next step is making sure there are enough clean pixels to fill a big display without forcing the monitor to stretch a small file. That is where resolution matters.
Instead of letting the computer viewer enlarge the image, preparing the file beforehand helps it hold together. For that final large-screen delivery, you can upscale image to 4K with the Wink Image Upscaler.
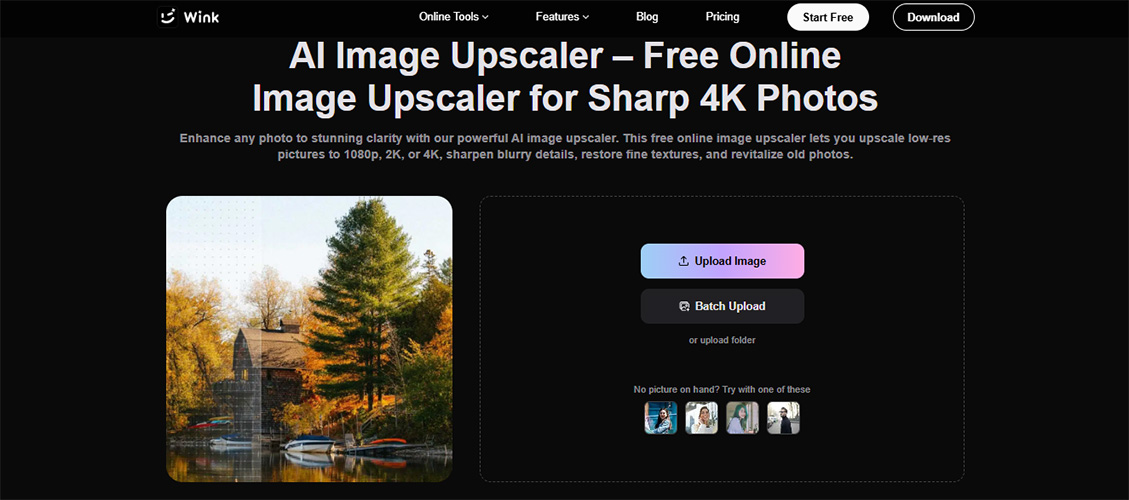
The process is pretty simple. Upload the image to Wink Upscaler, pick the target resolution and hit Start. The panel gives four levels for different use cases:
- 1080P – HD for a quick cleanup of a slightly soft phone shot
- 2K – UHD for full-screen laptop viewing and social
- 4K – Ultimate when the file needs to hold up on a large 4K monitor
- 8K – Master for maximum detail
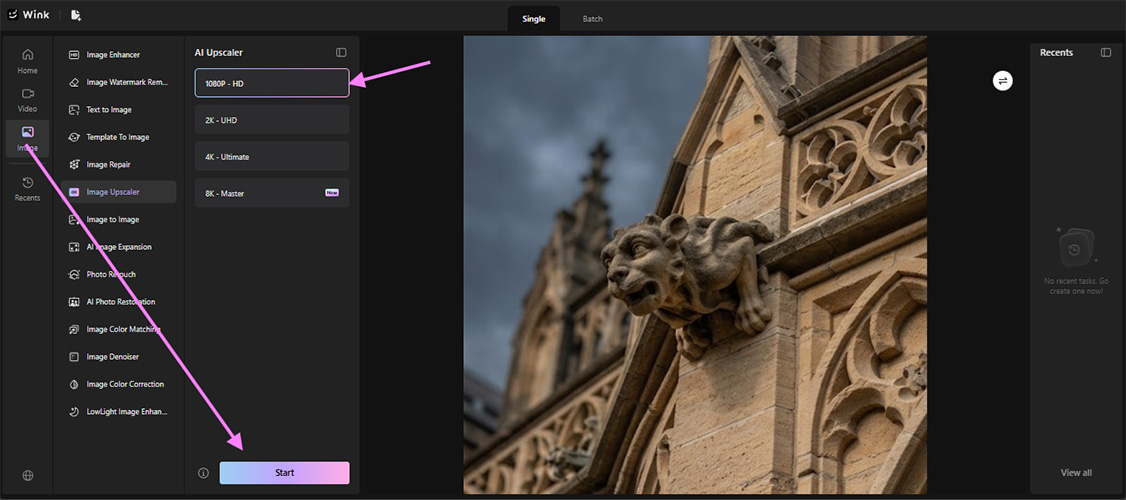
For example, say you photographed a gargoyle statue on your phone.
On your phone screen it looks great, but if you want it printed 24 inches wide or need to zoom right into the carving for a presentation, even a 4K upscale can still look limited. So, select Master resolution.
Master goes one step further than Ultimate. It builds a much denser pixel grid, so even if you print 24 inches wide or crop right into the carving for a presentation, the chisel marks, edges, and tiny stone texture still hold together. It doesn’t fall apart when you zoom.
The main thing to keep in mind is that upscaling cannot recreate every detail that was never captured. It works best when the original photo still has some useful texture and edge information to work with. A heavily zoomed, compressed, or badly out-of-focus shot will have limits.
Final Words
Your phone isn’t taking bad photos — it’s just optimizing for its own small screen. That same file gets stretched on a laptop or 4K display, so every bit of smoothing and compression shows.
For the best result, restore clarity before increasing resolution. This will give the image cleaner detail to work with before it is enlarged. Wink’s tools can help with both parts of the process, starting with the photo enhancer to improve clarity and then the image upscaler to prepare the file for a larger screen.

